The title of this post should clarify things a little for those who stumble into this.
My good friend Joe Balint built some HO scale model railroad modules to fit into layout of The North Carolina Sipping & Switching Society's layout. These modules are to say the least, unique. Their design includes two 12 foot long modules that raise the track 3 1/2 inches and two more modules than allow the mainline and industrial track (called the 21) to cross over the mainline plus the 21, twice. The 12' long modules we refer to as ramp modules and are named "Mohawk" and "Allegheny". Then there are the other two modules we refer to as flyover modules and they are named "eastern" and "Piedmont". The names of the modules come from 4 of the five airlines that flew into Raleigh-Durham Airport back in the 1970's.
Our task was to get as much scenery on these modules as possible before the NMRA convention in Atlanta. Jeff Patterson and I did most of the scene planning and much of the scenery construction. We had substantial help from Randy Costanza on scenery and structures, Ken Anderson assembled and painted a very cool structure, as did Rob Cutman. Also Richard Raburn, Mark Nugent, Sam DeShong and Joe Balint assisted. with various scenery projects.
I have invited Jeff and Randy to join me in captioning the images. I thought it would be neat to hear the design perspective of the other major players in this endeavor. My hope is that they will also provide details on how they created their parts of this project. - Mark
For starters we have the modules "Eastern" farthest from the viewer, connected to "Piedmont" nearest the viewer. A cardboard mock-up of an elevated highway can be seen on "Eastern". In the end Jeff and I decided that the highway wasn't going to work and that a more conventional scenery plan would work better for the modules. The final plan for the scene was for an older commercial/industrial neighborhood, several early 20th century brick storefronts and scenic clues to the adjacent industrial area. - Mark
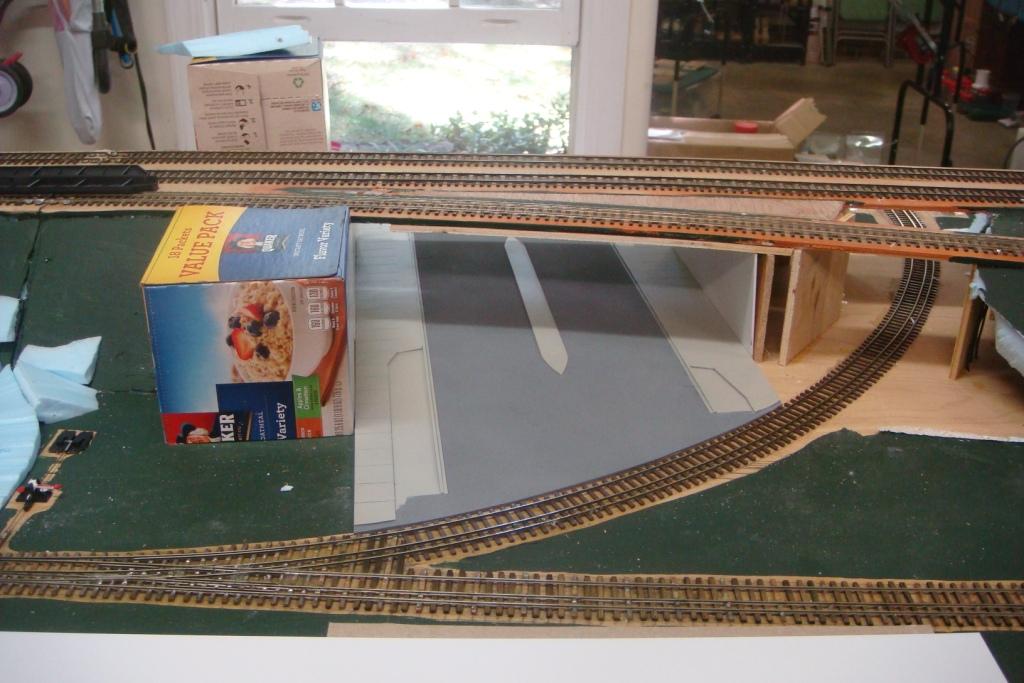
Grand Ave is marked out to pass under the upper level mainline. Jeff will be working on this element.
Two very crude mock-ups of buildings as they might sit beside Grand Ave.
Additional roadbed is being installed. We decided to add the roadbed to show where there was track and now was just ballast and a wide bridge over the road. The abandoned roadbed is installed so that if Joe chooses to install some working track, he can. The masking tape delineates where another road will pass beneath the upper level track. - Mark
The land form is being glued in and shaping the foam insulation has begun. A cardboard mock-up of a road under the tracks can be seen just right of the hillside. You may have noticed we use a large number of dumbbells for weight while glue dries, Jeff has lots of dumbbells but they get used far more as glue weights than for pumping iron.


